A few months ago, I hinted at a garden project I was undertaking. My apologies for being so vague. I wasn't sure if my idea would work or not and I didn't want to embarrass myself if it didn't.
But it did! And I'm psyched.
But first, a pretty flower, and it's not even pink!
 |
| This is Hydrangea macrophylla 'Fuji Waterfall' It was a small, rooted cutting back in April and now it's big and pretty and this is its second bloom! |
Considering the untreated landscape timbers were purchased last century, (circa 1998), is it any wonder they're so old and tired? Because my focus had for so long been on other projects, every now and then I'd scrape up a few pieces of this and that to hold the mulch and soil in place. Clearly aesthetics were not part of the equation.
My first bit of inspiration came last year when I spotted these wonderfully, rusty and totally cool containers at Garland Nursery. I love them, but not the price. ($75 for the small one.)
Then while scrolling through photos online, I saw these (below). Nice but a bit too woody. And fancy. Not my cup o' tea really since I'm a total, die-hard "lust for rust" gal. But an idea was taking shape.
And I saw these, too. They're a little better but way too shiny and new-looking for my taste.
Then, while "junking" at the local scrapyard one day, I saw these panels of rusty crusty corrugated metal. And the light bulb not only went off, but started flashing. In-time with blaring sirens.
My son helped me purchase three of them (14 feet x 4ish feet) at five bucks a piece.
At home, my wonderful son cut them in half lengthwise (with air snips), then in four-foot and eight-foot strips, the size of the raised beds. He already had aluminum pipe so he cut pieces to size and screwed them at each end.
 |
| My talented son's handiwork! |
 |
| We got them in place and then screwed the four sides together. |
~~ VOILA ~~
 |
| Still in need of a few buckets of gravel here. |
And then to the finer details.
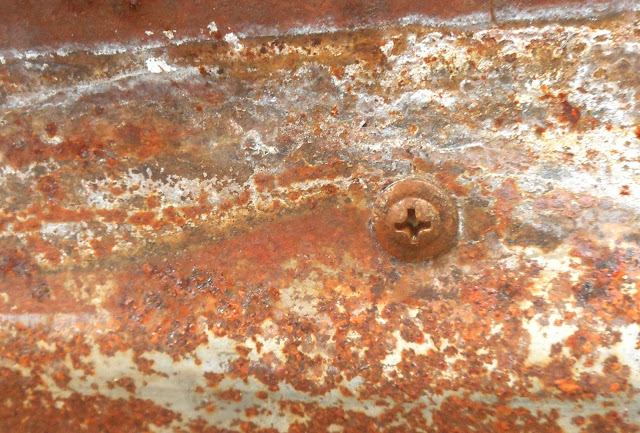
As I said earlier, I'm not a fan of "shiny" and these screws were a bit obtrusive, don't you think?
 |
| Patio Paint to the rescue! |
 |
| First the darker color, |
 |
| Then the lighter color. And then there were no more obtrusive screws. |
I'm still playing with the idea of adding a narrow vertical piece on the corners, to give them that "finished" look but the material I want needs to be just right and, well, hopefully it won't be another century before I find it.
One other little detail, as you can see on the photo below, the pipe my son used is hollow, perfect for propping some of my miscellaneous rusty pieces.
For instance, this piece....
And this one...
In case you're wondering, yes, I'm now on a first-name basis with Gordie, scrap yard guy!
To recap, Before...
And After... So much better, don't you think?
I know rusty stuff and bargain-hunting aren't to everyone's liking
and that's okay.
Our individuality is what makes it fun, right?


