Showing posts with label The Big Reveal. Show all posts

Tuesday, October 20, 2015

Makeover: The Big Reveal!

A few months ago, I hinted at a garden project I was undertaking. My apologies for being so vague. I wasn't sure if my idea would work or not and I didn't want to embarrass myself if it didn't. 

But it did! And I'm psyched. 

But first, a pretty flower, and it's not even pink! 

This is Hydrangea macrophylla 'Fuji Waterfall'
It was a small, rooted cutting back in April and now it's big and pretty and this is its second bloom!

Okay so here was my dilemma: Check out the total ugliness of these raised bed borders. Icky!


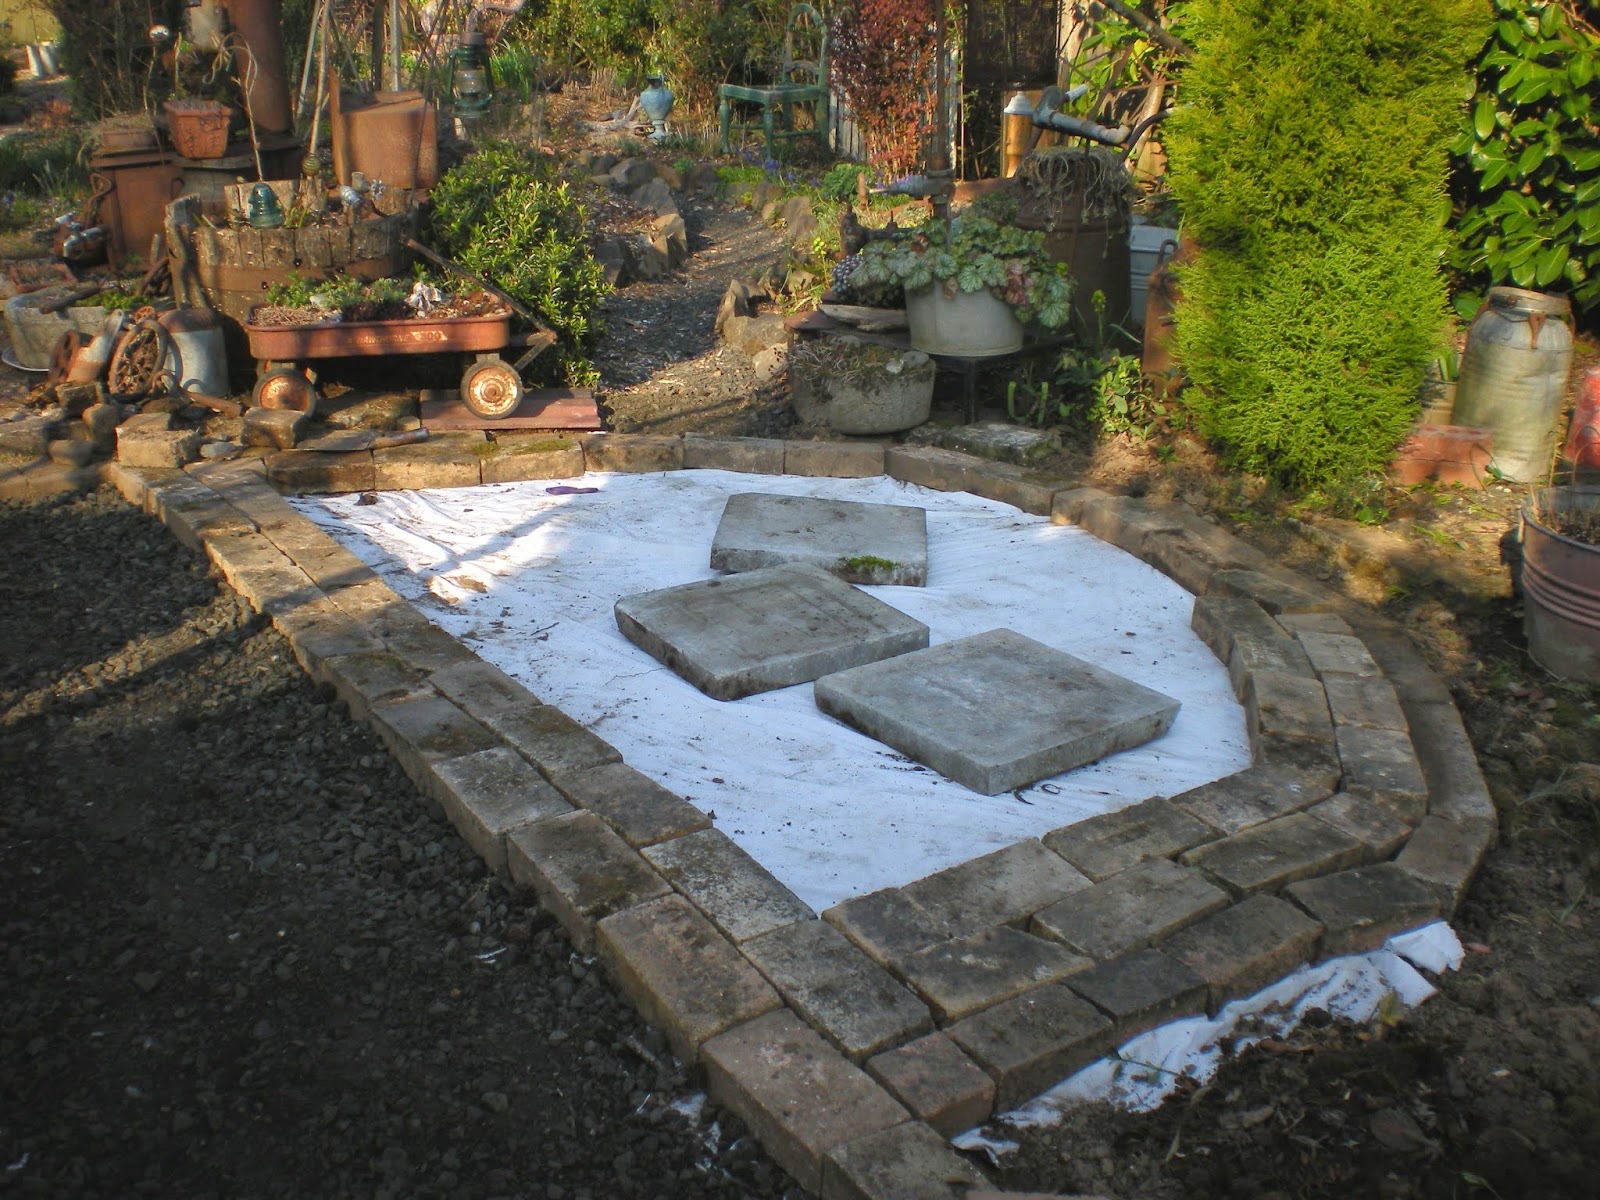
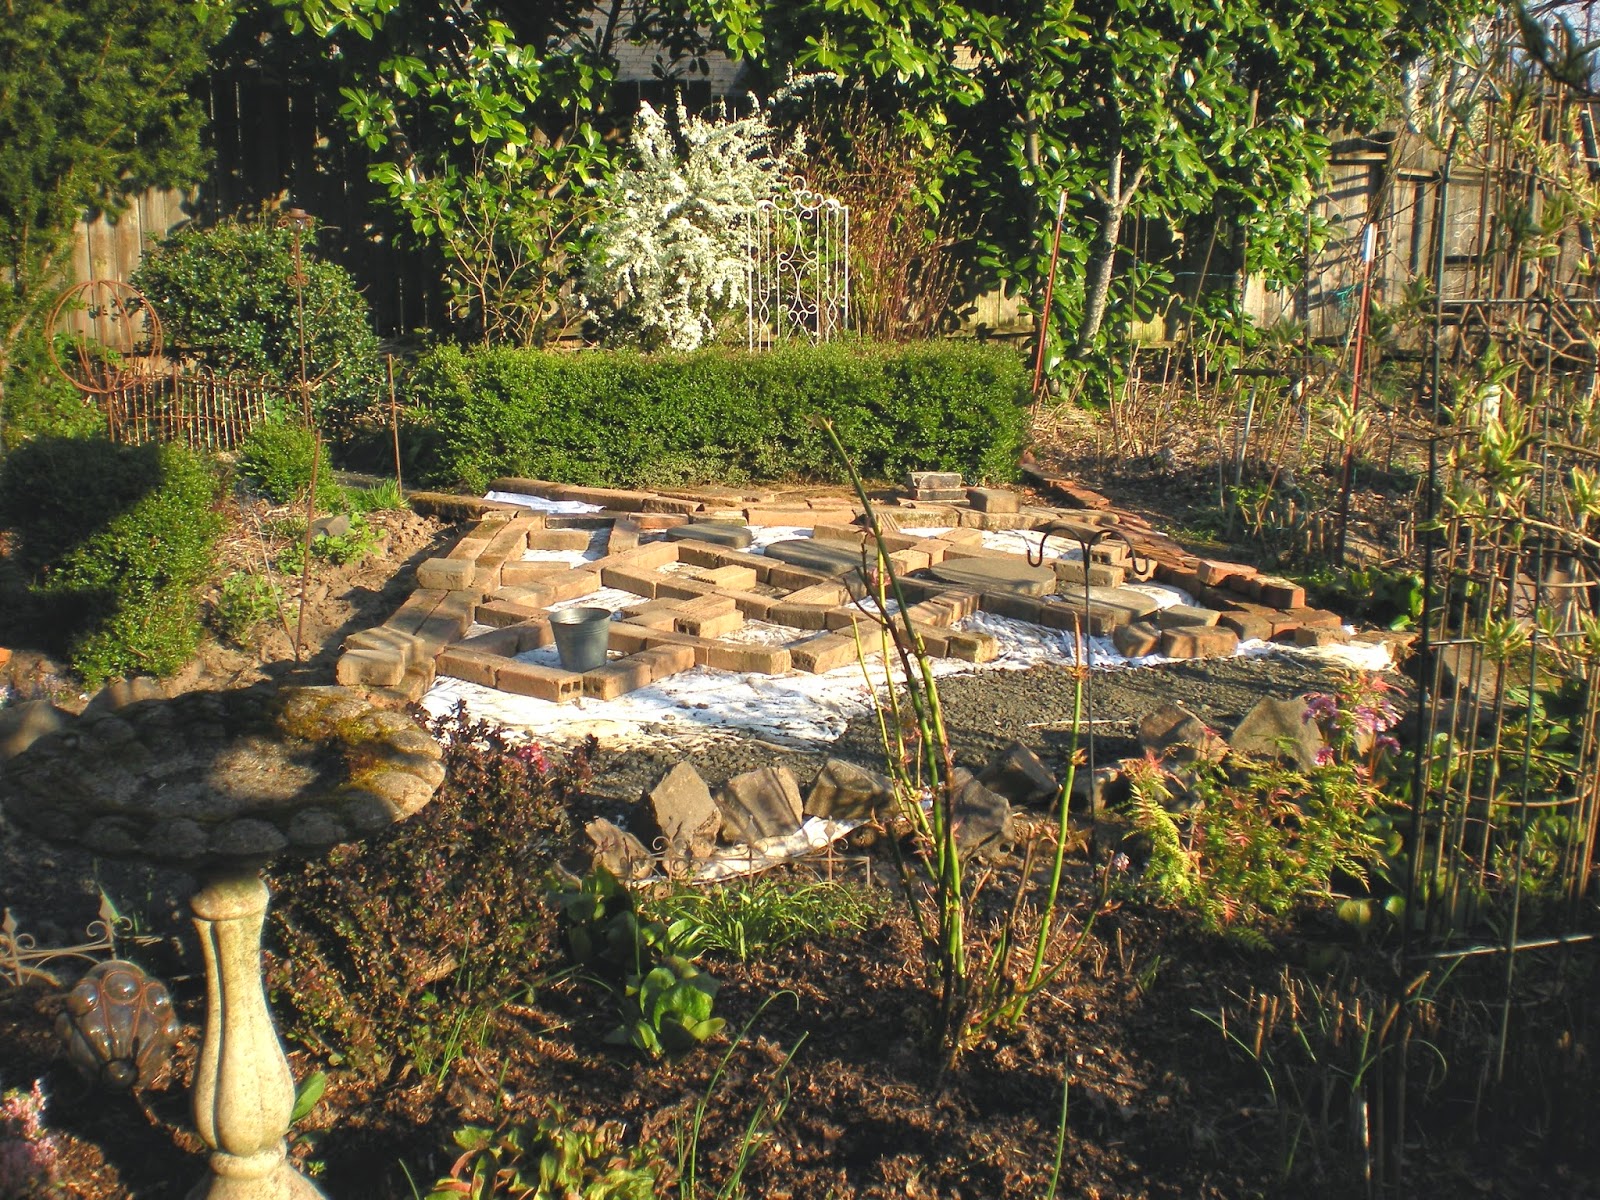
Considering the untreated landscape timbers were purchased last century, (circa 1998), is it any wonder they're so old and tired? Because my focus had for so long been on other projects, every now and then I'd scrape up a few pieces of this and that to hold the mulch and soil in place. Clearly aesthetics were not part of the equation.  

My first bit of inspiration came last year when I spotted these wonderfully, rusty and totally cool containers at Garland Nursery. I love them, but not the price. ($75 for the small one.) 


Then while scrolling through photos online, I saw these (below). Nice but a bit too woody. And fancy. Not my cup o' tea really since I'm a total, die-hard "lust for rust" gal. But an idea was taking shape. 


And I saw these, too. They're a little better but way too shiny and new-looking for my taste.


Then, while "junking" at the local scrapyard one day, I saw these panels of rusty crusty corrugated metal. And the light bulb not only went off, but started flashing. In-time with blaring sirens. 


My son helped me purchase three of them (14 feet x 4ish feet) at five bucks a piece. 

At home, my wonderful son cut them in half lengthwise (with air snips), then in four-foot and eight-foot strips, the size of the raised beds. He already had aluminum pipe so he cut pieces to size and screwed them at each end. 
My talented son's handiwork!

We got them in place and then screwed the four sides together.
~~ VOILA ~~


Still in need of a few buckets of gravel here.

And then to the finer details.

As I said earlier, I'm not a fan of "shiny" and these screws were a bit obtrusive, don't you think?


Patio Paint to the rescue!

First the darker color,

Then the lighter color. And then there were no more obtrusive screws.
I'm still playing with the idea of adding a narrow vertical piece on the corners, to give them that "finished" look but the material I want needs to be just right and, well, hopefully it won't be another century before I find it. 

One other little detail, as you can see on the photo below, the pipe my son used is hollow, perfect for propping some of my miscellaneous rusty pieces.  


For instance, this piece....


And this one... 


In case you're wondering, yes, I'm now on a first-name basis with Gordie, scrap yard guy! 

To recap, Before...


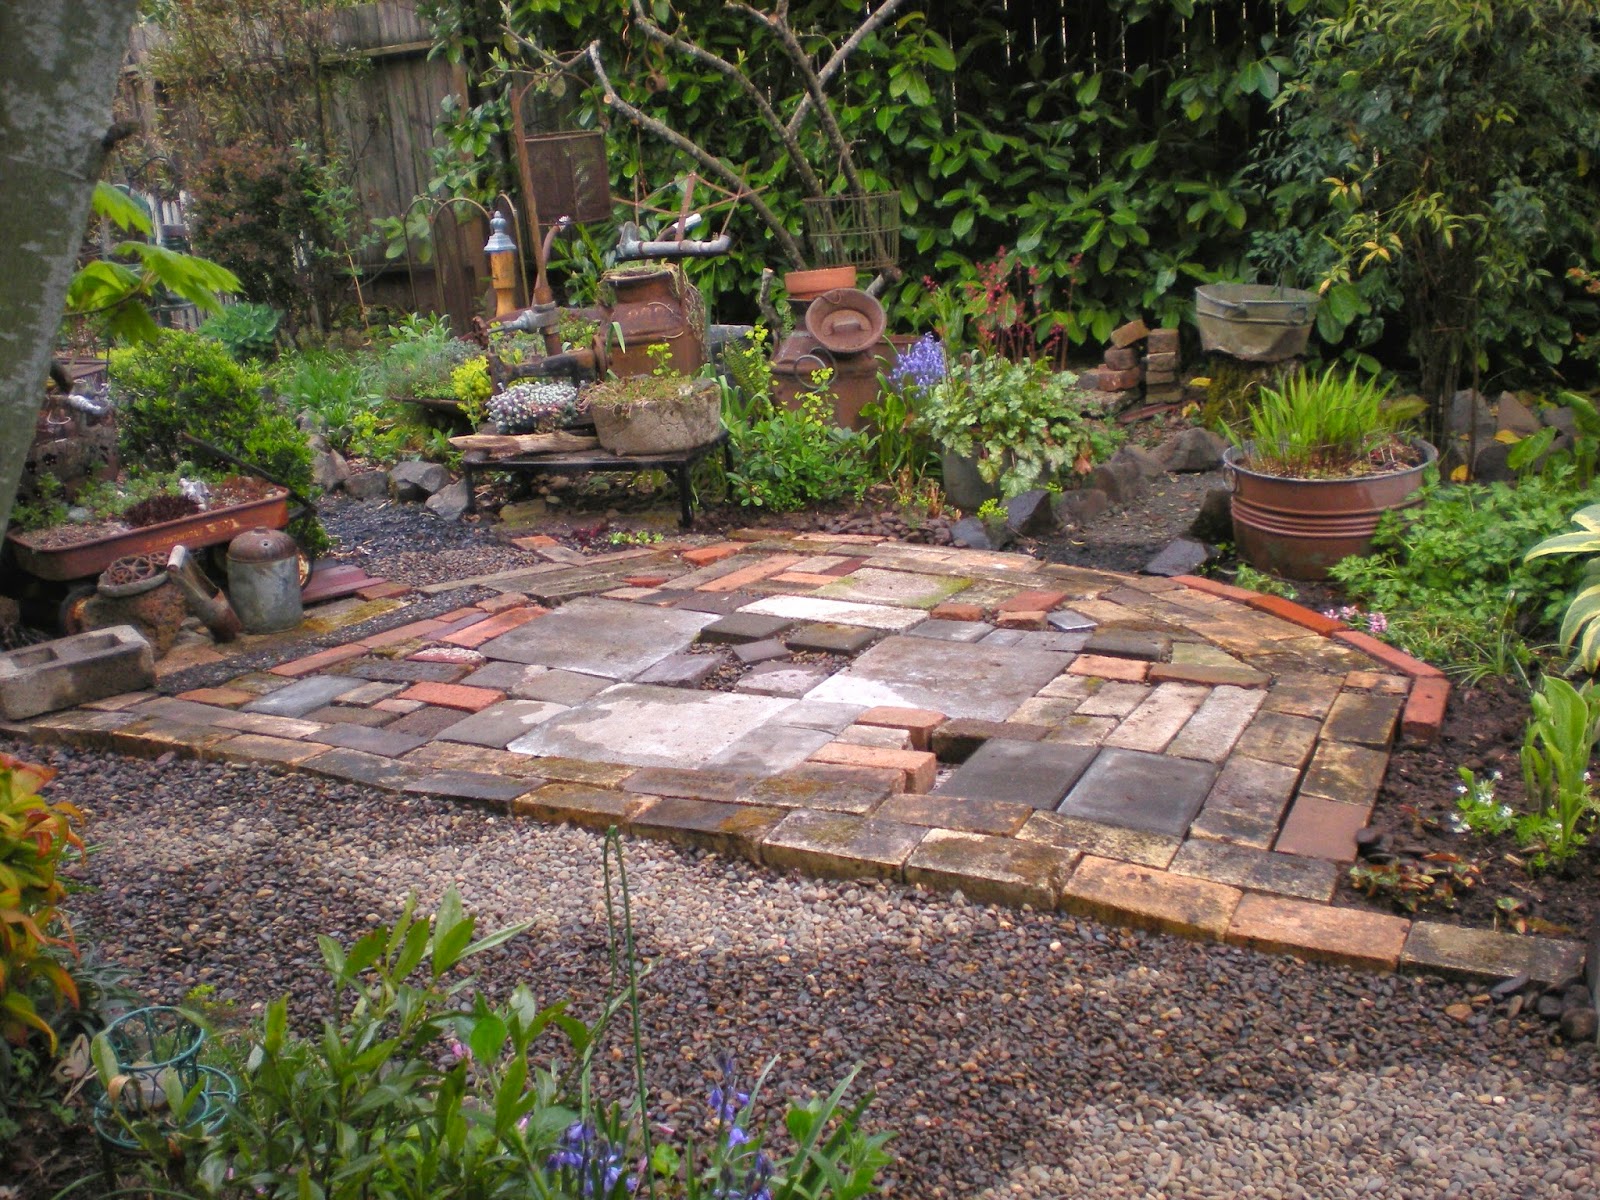
And After... So much better, don't you think? 


I know rusty stuff  and bargain-hunting aren't to everyone's liking 
and that's okay.
Our individuality is what makes it fun, right?

Wednesday, July 2, 2014

The BIG Reveal--Befores & Afters!

Okay peeps. Remember how I mentioned earlier this year that I was sick and tired of my backyard lawns and was planning to get rid of them? I was visualizing replacing them with something like this checkerboard motif?  

Courtesy of Pinterest
But then I also found this photo on Pinterest.

Photo courtesy of Pinterest
I really like the formal-informality of it. I like the idea that the elements are mismatched and interesting and form a design hinting of both whimsy and antiquity. Is it my (admittedly somewhat fantastical) imagination or does this circle look like an unearthed relic from the past? 

Well, hot dang. In early March, I caught the vision and it was time to say bye, bye lawn! 

There were two lawns to get rid of. I've always referred to them as my "North Lawn" and my "South Lawn" because this sounds kind of elaborate and fantastical like my imagination. Like I live on a many-acre estate or something. Hardly. But anyway, first, the North Lawn: 

Before: 

Here is a photo taken last summer of a section of the North Lawn.


You can see that it's not very big. Maybe 15 feet at its widest.
Hardly estate-worthy.

Here it is in late summer. No matter how much water and fertilizer I dumped on it,
by the end of summer it always looked like this.
I hated it.

Here it is after the application of lawn death this past March. 

A muddy, icky mess. 

Me no likey! 
At this point, I was committed. And a little terrified. 
Fortunately I have a son who is a great scavenger. He found bricks. 
I found more bricks at the Habitat For Humanity ReStore near my work. 
I'd go there on my lunch hour, once or twice a week to get a bunch of whatever they had. 

My hubby, bless his heart, dug the lawn out and leveled it off.
I laid an old bed sheet which, by the way makes a cheap weed barrier. 

Then, I started playing with the bricks and other pieces.
Lots of adjusting and filling in and leveling was in order.
To the left, you can see the beginnings of a gravel pathway.

Getting closer to completion.

Still some leveling and a few more pieces to finish up. 


It's still not perfect. I'm letting it settle and will continue to work with it until it's just right.
But it looks much better than a stupid, needy, never satisfied lawn. 
And now, the South Lawn

Early summer. It looks so pretty, doesn't it? 

But not for long. 
For reasons that elude me, I didn't pick a photo depicting the peril of 
the late summer South Lawn but I'm sure you've seen a dead lawn before
and know what it looks like.

Speaking of dead lawns, here is a photo from March of this year.
Bye, bye you sad, sad grass. 


Once the dead grass was gone and I caught a vision for how this area would look,
I  laid another sheet and began arranging the bricks. 

Patience was demanded of me while I worked my magic.
And it didn't hurt that we had less-than average rain fall. 

It took lots of moving and shifting to design a pattern I liked. My daughters helped. 

Once I got the bricks mostly in place, I added soil.
On the right is the gravel pathway, not quite finished.


This hedge would be removed and new sun-loving plants would inhabit this border.


My idea was to plant low-growing Thyme in the spaces between the bricks.
I already had a bunch of it in another spot so I dug, divided and replanted. 

Here, the Thyme is taking hold. 

I added low-growing "Stepable" succulents too. 

Notice the hedge is gone and I've got a few of the new plants situated.

Here is a more recent photo. Catmint, Gaura, Sedum, Eryngium, Echinacea, Buddleia lindleyana.
Behind the newbies are the established plants, variegated Dogwood, Lespedeza thungergii, Spiraea, Fejoia, etc., 

Still working on the other border. 

And here it is just a few days ago, coming along nicely.
I'm still waiting (not very patiently) for the Cannas in that back corner to get tall enough to see.
They're taking forever! 
So there you have it.
It's a work in progress and won't ever be "finished" but you can be sure
that when it's getting close, 
I'll have some other grand idea to try. 
It's how I roll. 

Thanks for visiting!